Since the 1940s, the Optical Comparator, an inspection machine used for spotting imperfections in manufactured parts, has played a big role in the aircraft industry.
 The advent of computer technology has recently brought the comparator into the digital age, but the basic concept is still the same. Comparators work by projecting the magnified silhouette of a part onto a large screen, much like an overhead projector. The inspector measures the silhouette for any deviations in angle, radius, bolt-hole pattern or any other 2D measurement.
As Bryan Jacobs, Atec’s Quality Assurance Manager, puts it, “a comparator is a critical component to quality inspection.” It can accurately measure complex geometries and the inspector does not have to touch the part while measuring it.
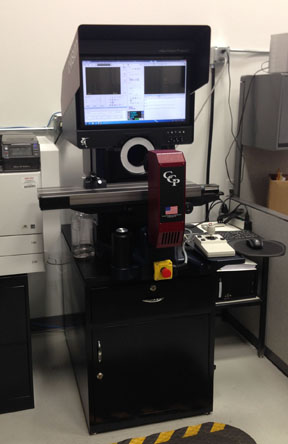
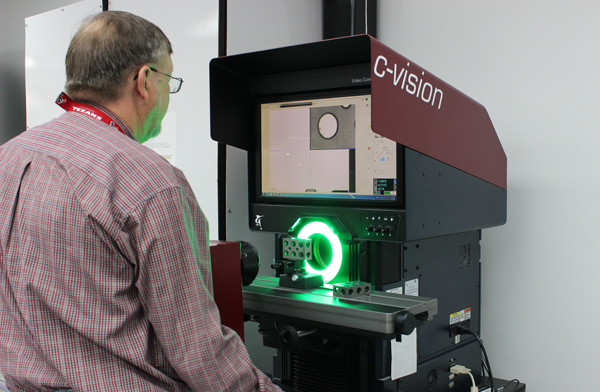
Atec has a few comparators, but the most recent addition to the fleet is one of the more technologically advanced models, utilizing the very best in CAD software and digital imaging technology. Obtained towards the end of last year, the c-Vision Benchtop Video Contour Projector, can measure details down to 0.0001 inches and can manipulate a payload up to 60 lb.
In addition to measuring complex shapes and patterns, this versatile comparator can perform surface inspection, zooming in on objects at 50x magnification. The Non-touch Coordinated Measuring Machine (CMM) allows for fully automated measurements; and the high contrast digital imaging allows the inspector to examine the part in more accurate detail than with traditional comparators.
 Atec’s Quality Management System, based on AS9100C and ISO9001 standards, ensures steadfast commitment to design and production quality. Part of this involves acquiring the right equipment to get the job done. Atec has cool tools to play around with but, as the old adage goes, a tool is only as good as the person using it.


